
Introduction
In Part-I of our Nomad Odyssey, we delved into the theoretical aspects, laying the groundwork for confidently navigating the HashiCorp Universe. Now, in Part-II, we’re diving into the practical side of things. Get ready to roll up your sleeves as we guide you through the hands-on experience of downloading, installing, and running Nomad. This guide aims to reinforce your understanding and propel you towards mastering Nomad’s real-world application. Get ready for a hands-on journey!
Stay tuned for a step-by-step walkthrough that bridges theory and practice, making your Nomad journey both educational and exciting. Whether you’re a seasoned explorer of infrastructure orchestration or a newcomer to the HashiCorp ecosystem, this practical guide will equip you with the skills to leverage Nomad effectively in your deployments. Get ready for a Nomad journey full of practical insights and useful knowledge! 🚀✨
Starting Simple
Now the fun begins — we are going to get started with downloading, installing and running Nomad! The theory above will help you to understand what we are doing, so if you’ve skipped straight to this section, go back and spend a couple of minutes reading it — it’ll pay off in the long run!
A quick caveat — your operating system might work differently from the one used in this guide (MacOS). If you find a command or job is not working as expected, you might need to modify it to work in your particular environment. Refer back to the Nomad documentation for the most up to date information. At present Nomad only supports Windows containers when running on Windows. The examples given below are for Linux containers. If you want to use them as is and are running Windows, consider running a Linux VM to complete the examples.
Prerequisites
To complete the hands-on components you will need:
- Internet connectivity to download binaries and Docker containers.
- An up to date installation of Linux.
- An installation of Docker for your operating system.
Nomad installation
- Go to this page and Download the appropriate package for your system.
- Check which version of Nomad is suitable for your machine CPU and hit download.
- Unzip the downloaded file into any directory.
- (Optional) Place the binary somewhere in your PATH to access it easily from the command line.
That’s all! One of the strengths of Nomad is its simplicity. Having a single binary also makes upgrading Nomad much easier too.
Running Nomad
In this blog, we are going to use Nomad in “dev mode”. This runs Nomad on a single machine as both the server and client. The nice thing is we’ll be able to interact with Nomad in the same way we would if we were running hundreds or thousands of nodes.
One important note — in dev mode, Nomad will not persist any data. That’s fine for experimenting and prototyping, but not something you should do in production. Also in production, we’d recommend keeping workloads on client nodes and not scheduling work on the server nodes. Check out the Nomad documentation for more information on running it in production.
Starting Nomad in dev mode is very simple from the command line:
$ nomad init
Initializing Nomad...
Nomad successfully initialized
To start the agent, run:
$ nomad agent -dev
At this point, you should see the Nomad agent has started and started to output some log data similar to this:
==> Starting Nomad agent...
==> Nomad agent configuration:
Client: true
             Log Level: DEBUG
                Region: global (DC: dc1)
                Server: true
==> Nomad agent started! Log data will stream in below:
...
From the log data, you will be able to see that the agent is running in both client and server mode, and has claimed leadership of the cluster. Additionally, the local client has been registered and marked as ready.
Leave this terminal window open, and open a new window if you wish to run any subsequent CLI commands. When you want to stop Nomad, return to the terminal window where it is running and press CTRL+C.
Nomad Web UI
Once we have the Nomad agent running, we can access the web user interface by visiting http://localhost:4646 in a browser.
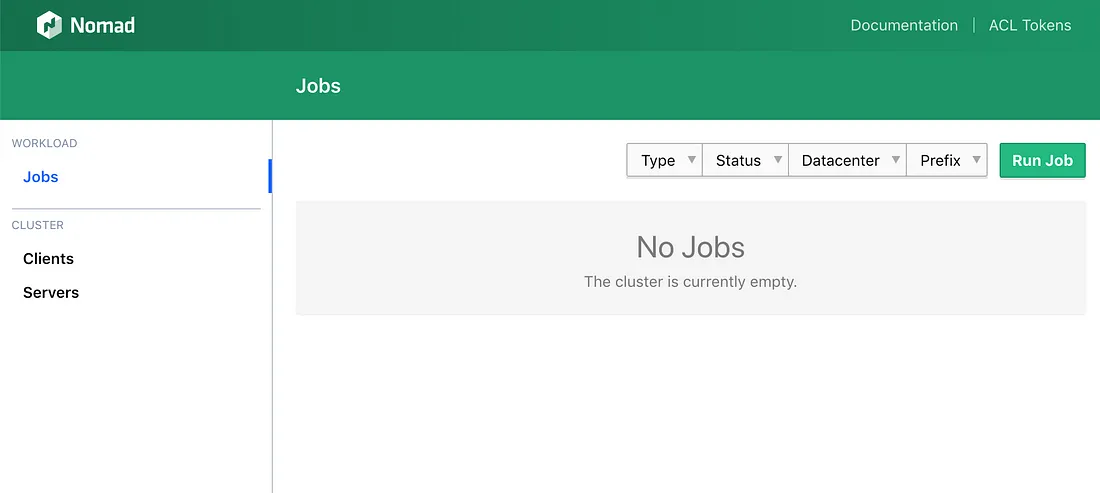
The jobs section looks pretty bare when you first start it up — we are going to fix that shortly!
The UI also shows us the Clients and Servers in the cluster. In this case, we will see the same node appear in each section. By clicking on the node name, information about that node will be displayed including OS type, Nomad version, and which resources and task drivers are available. For more information, take a look at the Web UI tutorial.
Running Our First Job
Now that Nomad is up and running, we can schedule our very first job. We will be running the http-echo Docker container. This is a simple application that renders an HTML page containing the arguments passed to the http-echo process such as “Hello World”. The process listens on a port such as 8080 provided by another argument.
Job File
A simple job file that describes this looks like this:
job "http-echo" {
  datacenters = ["dc1"]
  group "echo" {
    count = 1
    task "server" {
      driver = "docker"
      config {
        image = "hashicorp/http-echo:latest"
        args  = [
          "-listen", ":8080",
          "-text", "Hello and welcome to 127.0.0.1 running on port 8080",
        ]
      }
      resources {
        network {
          mbits = 10
          port "http" {
            static = 8080
          }
        }
      }
    }
  }
}
In this file, we will create a job called http-echo, set the driver to use docker and pass the necessary text and port arguments to the container. As we need network access to the container to display the resulting webpage, we define the resources section to require a network with port 8080 open from the host machine to the container.
Running the Job in the Web UI
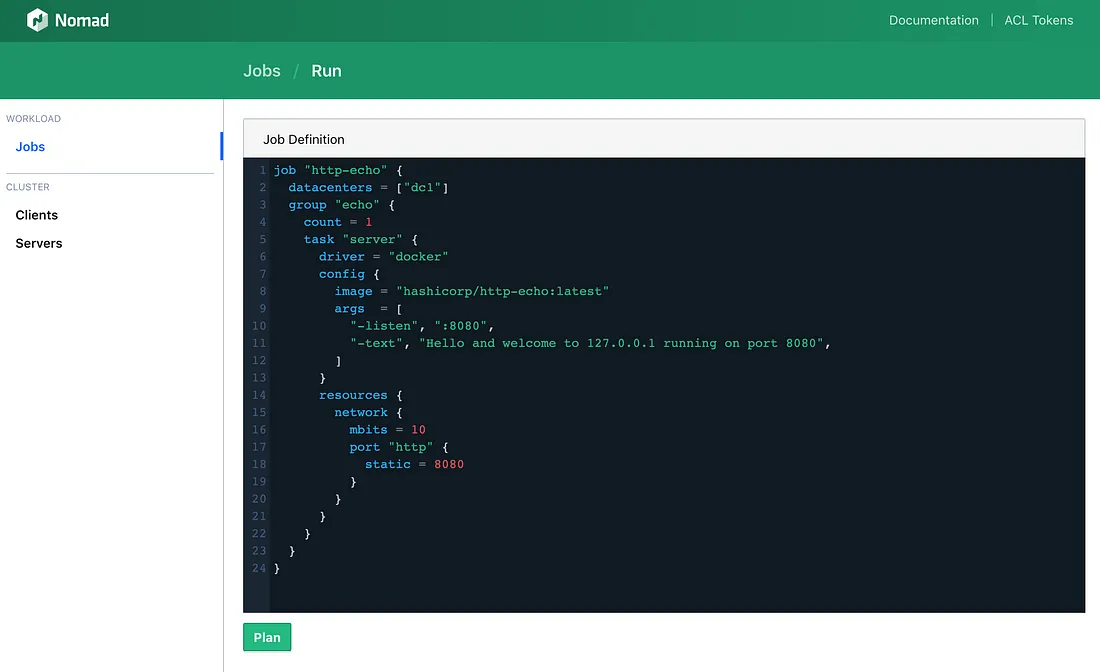
While we could use the CLI or API to run our job file, it is very easy to schedule the job from the Web UI.
From the Jobs section of the Web UI, click the Run Job button in the top right. This will take you to a screen where you can paste your job file contents into the Job Definition text box and click Plan.
When we plan a job in Nomad, it determines the impact it will have on our cluster. As this is a new job, Nomad will determine it needs to create the task group and task:
+ Job: "http-echo"
+ Task Group: "echo" ( 1 create )
  + Task: "server" ( forces create )

Allocations:
ID        Node ID   Task Group  Task        Desired Status  Created By
<none>    <none>    echo        server      running        job-0654a45e
Click Run and Nomad will allocate the task group to a client (in our case there is only one client) and start running the task. Once the job is running, visit http://127.0.0.1:8080 in your browser and you will see the http-echo webpage with the text we passed as an argument in the job file:

Cleanup
Once you’ve completed your Nomad exploration and practiced running jobs, it’s a good idea to clean up. Follow these steps to clean up:
Stop Nomad Agent: In the terminal where Nomad is running, press
CTRL+Cto stop the Nomad agent.Clean Up Resources: Depending on your exploration, you might have allocated resources or containers. Ensure you release any resources, stop running containers, or remove any artifacts created during your experiments.
Nomad UI: If you opened the Nomad Web UI, close the browser window to conclude your Nomad Web UI session.
By following these steps, you ensure a clean environment and avoid any unintentional interference with subsequent Nomad experiments. Happy cleaning!
Summary:
Congratulations on mastering the basics of Nomad! You now wield the knowledge to confidently navigate the HashiCorp Universe. From understanding its architecture to running your first job, you’ve embarked on a Nomad Odyssey.
As you continue exploring, remember the fundamentals – jobs, task groups, and resources. Nomad’s simplicity makes workload management a breeze, ensuring your deployments are seamless.
So, here’s to your Nomad journey! May your deployments be swift, your clusters resilient, and your tech adventures ever exciting. Happy deploying, and may your Nomad Odyssey be a success! 🚀✨